In the Kanzi Studio Quick Start window click New Project...:
- Name your project.
- For the Default Material Type select Empty.
Leave all other settings as they are, and click OK.


A Kanzi Studio project contains all the content and preferences for your Kanzi application. When you create a new project, Kanzi Studio creates a project directory in your Kanzi Studio workspace and adds to that directory the required file structure for the project. When importing content to your project, Kanzi Studio copies the imported content to the project directory.
You defined the location of the Kanzi Studio workspace during the installation.
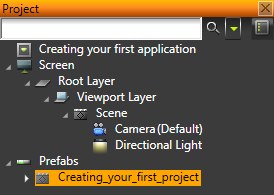
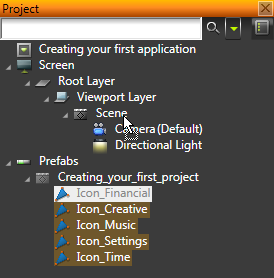
In this step you first create a new project, then you import the content to your project.
The assets you use in this tutorial are stored in <KanziWorkspace>/Tutorials/Creating your first application:
Completed Kanzi Studio project directory contains the completed Kanzi Studio project of this tutorial.
In the Kanzi Studio Quick Start window click New Project...:
Leave all other settings as they are, and click OK.
To find out more about importing content to your projects, see Importing.
To find out more about working with Kanzi Studio projects, see Projects.